Index
Starting EDI Rules Creator Studio
EDI Rules Creator Studio is located in the ‘EDI Rules Creator Studio‘ directory of the RDPCrystalInstallation folder
Click on the ‘EDI Rules Creator Studio.exe‘ file to launch.
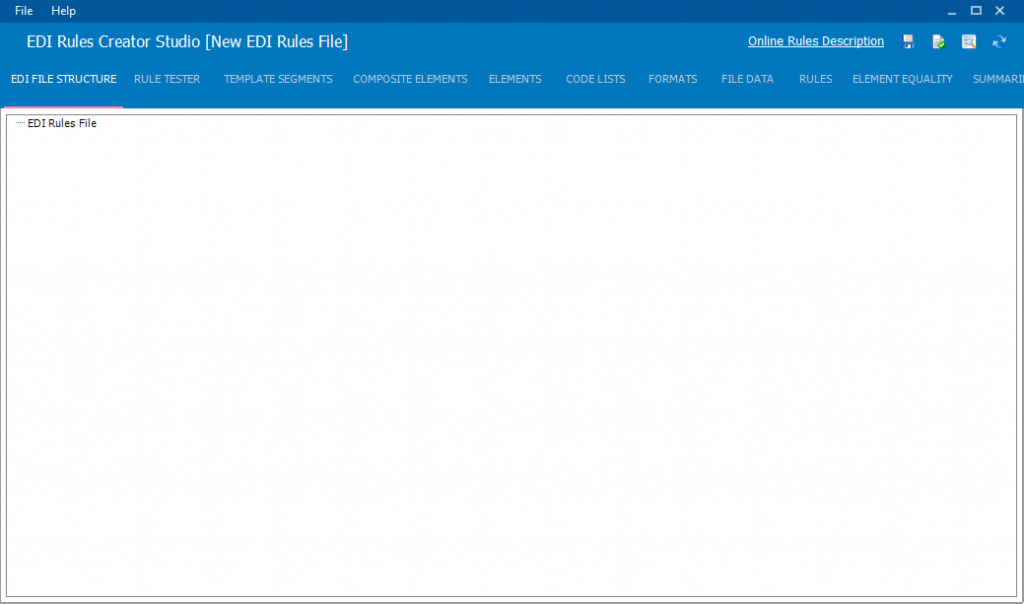
Step 1 – Adding Your First Loop
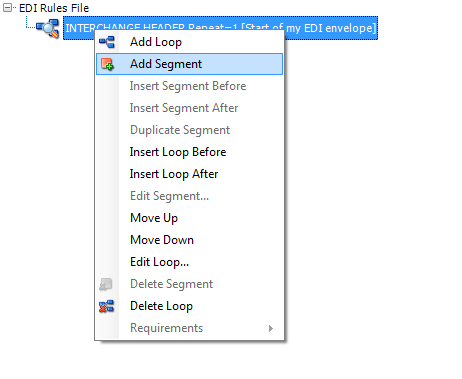
- Right click on the EDI Rules File node and click on the ‘Add Loop‘ item.
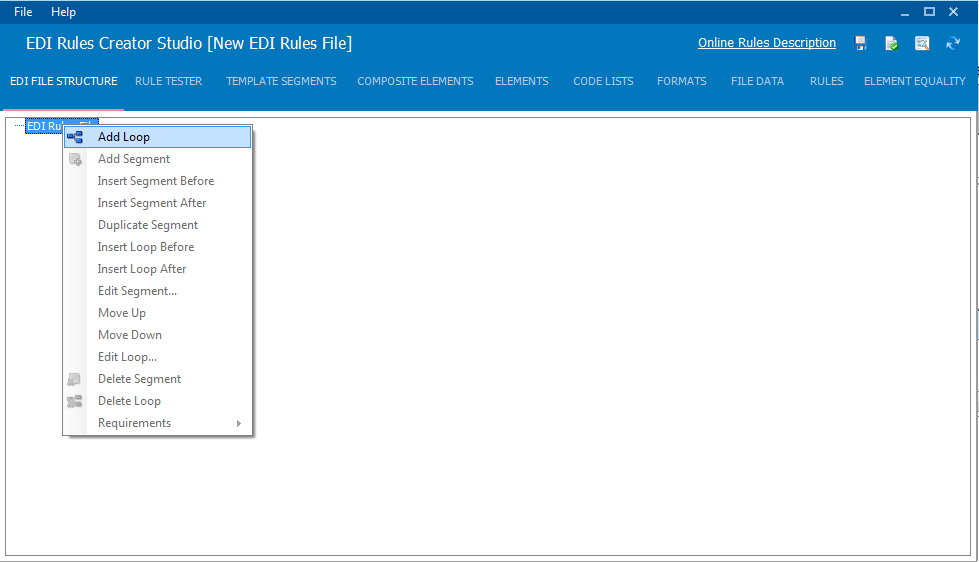
The New Loop dialog appears.
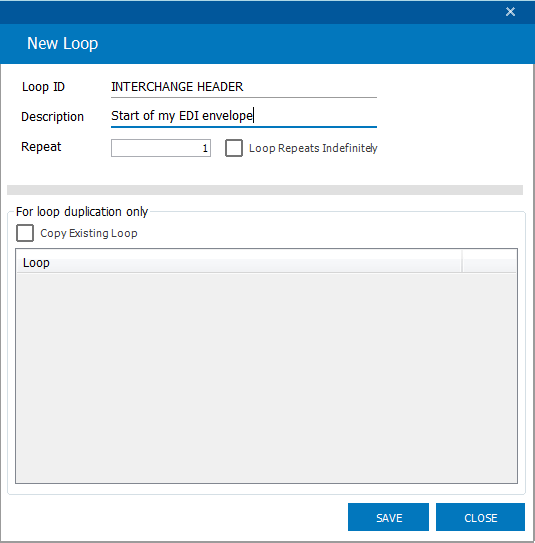
- Enter the Loop ID, Description and how many times the loop should Repeat. If the loop should occur more than once (>1) then check the Loop repeats Indefinitely check box
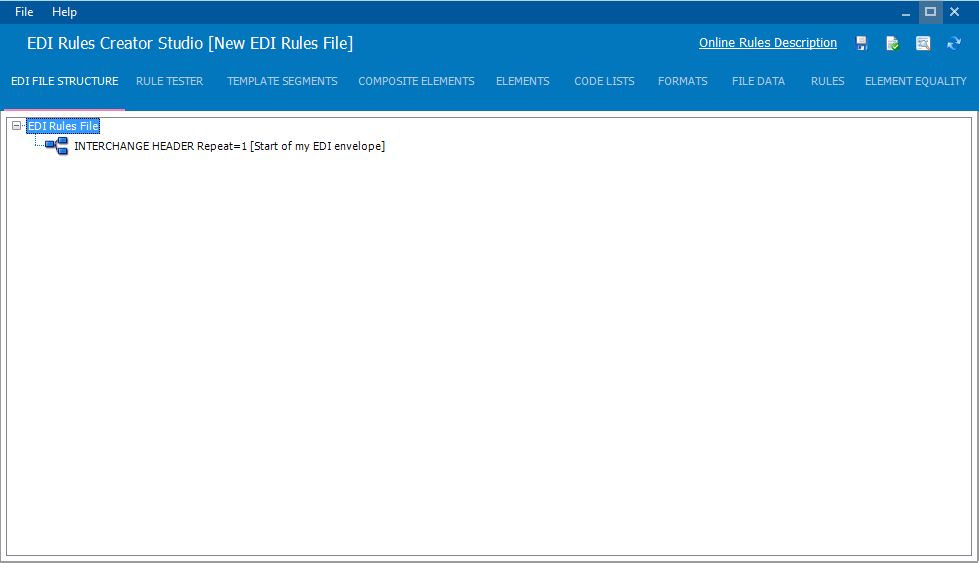
- Click on the SAVE button to add the loop
The new loop will now be displayed
Step 2 – Creating a Template Segment
In order to add a segment to a loop a Template Segment must first be created. A template segment enables you to use a segment more than once from a common template
- Move to the Template Segments tab and click on the NEW button
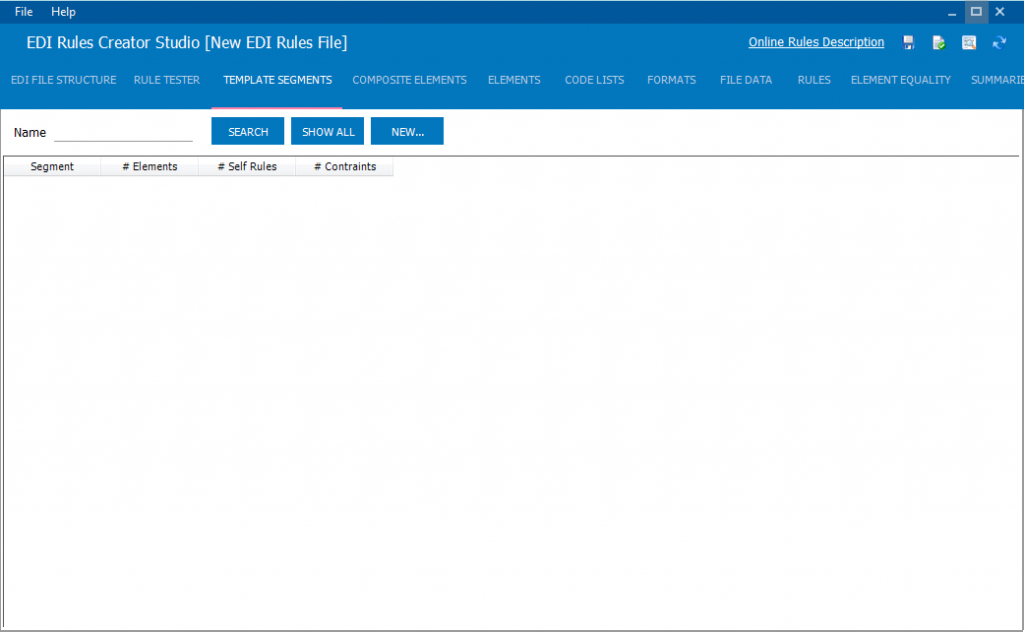
The New Template Segment dialog appears.
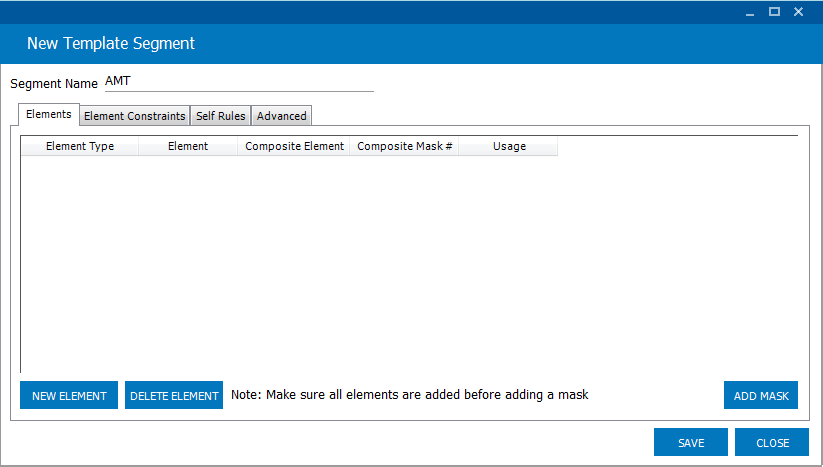
- Enter a name for the new template segment in the Segment Name field. In this example we added a segment named AMT
- Click on the NEW ELEMENT button. A row will appear so that you can enter the element information. Select an element from the Element column or just enter an element number. If the element does not exist a popup will appear to allow you to enter it.
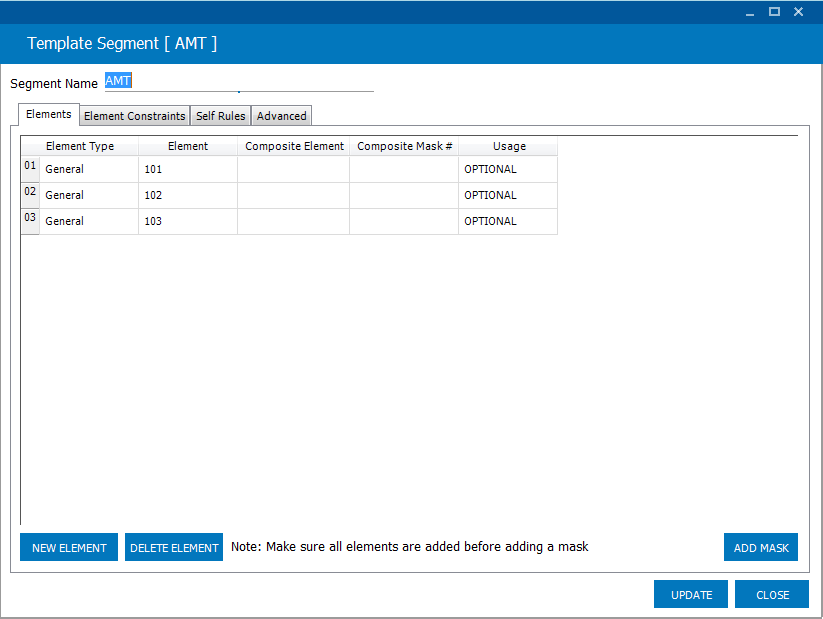
- Select the usage requirement of this element from the Usage column. It’s OPTIONAL by default
- To add another element click on the NEW ELEMENT button as many times as you wish
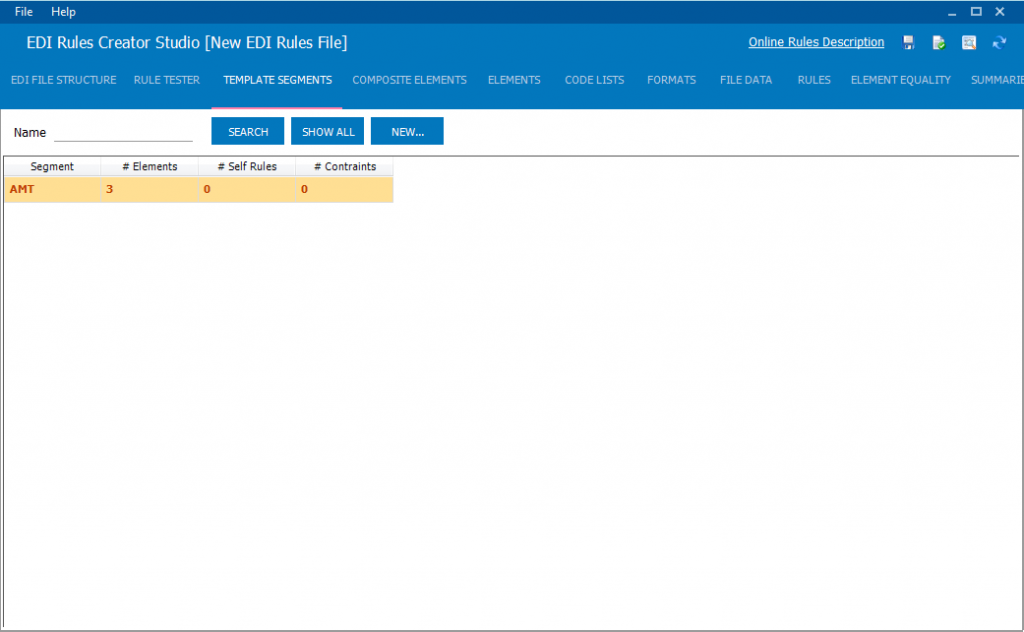
- Click on the SAVE button to save the new template segment. The new template segment will now appear in the Template Segments grid on the main screen.
Step 3 – Adding A Segment To A Loop
Now that we have a template segment we can create a segment to add to the loop
- Right click on the loop created in step 1 in and click Add Segment
- The Add Segment dialog will appear. From the Template Segment combo box field select the template segment created in step 2. All information regarding the elements in the segment will be displayed in the grid. In the below image we’ve added a description for our segment in the Description field.
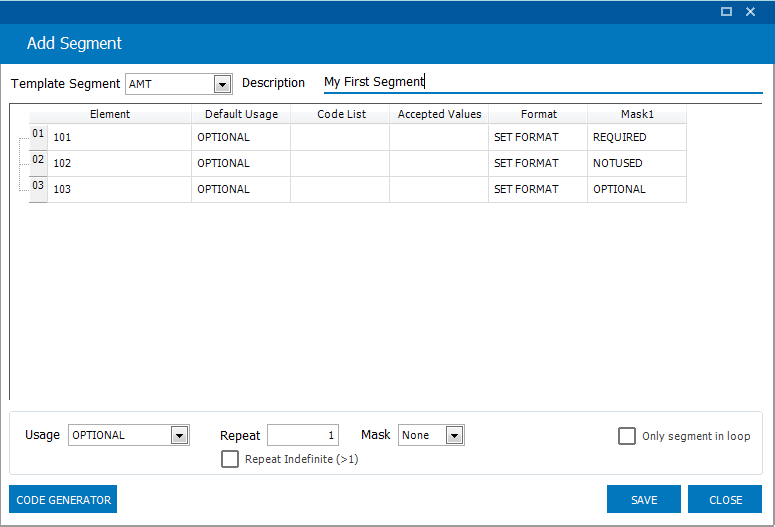
- In the Segment Properties group box set any properties for the loop segment segment
- Click on the SAVE button to save the segment. It will now appear in the loop

Step 4 – Saving The New EDI Rule File
- Click on File -> Save to save the new EDI rule file. Enter a name for the EDI rule file.
You can now open the file to see its contents.
FILE DATA
ELEMENT DEFINITIONS
101=AN,1,1
102=AN,1,1
103=AN,1,1
COMPOSITE ELEMENT DEFINITIONS
SEGMENT DEFINITIONS
AMT=[101][102][103]
SEGMENT SELF RULES
COMPOSITE ELEMENT SELF RULES
CODELISTS
FORMATS
EDI FILE STRUCTURE
{INTERCHANGE HEADER:1[AMT]}
ELEMENT CODES
ELEMENT FORMATS
SUMMARY
ELEMENT EQUALITY
RULES
ELEMENT COUNTERS
ELEMENT CODE DESCRIPTION
LOOP DESCRIPTIONS
INTERCHANGE HEADER=Start of my EDI envelope
SEGMENT DESCRIPTIONS
AMT=1,My First Segment